I love 3D printing. But have you ever downloaded a 3D file that just didn’t quite work? In this tutorial, you’ll learn to modify 3D printing files using the cloud based program TinkerCad. If you’re not familiar with 3D printing, check out the video on this post to get an idea. I also have a post on TinkerCad here about creating a simple design from scratch. But this post is a bit different. To 3D print something you have to find a model that you like, import it into a program that will allow you to tweak “how” the model will print (NOT tweak the model itself) and then save these changes to upload to your printer. But what if the model doesn’t quite work the way you want it to? What happens then? Simple, you modify it.
Modifying a 3D Model File
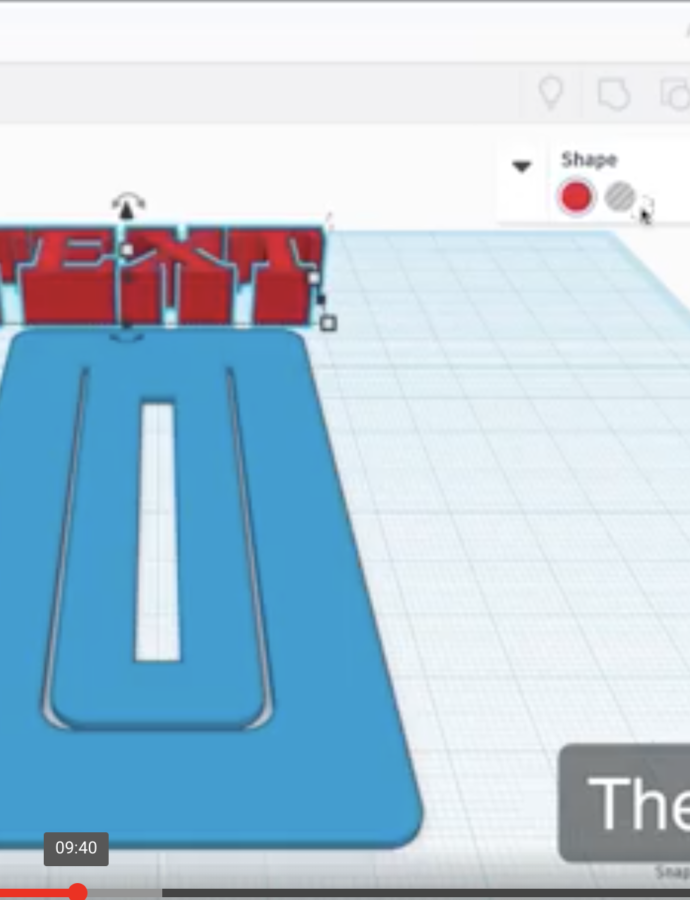
This can be extremely fun, or extremely frustrating, depending on the changes you want to make to the model. If you need to alter the model extensively, you might be better off starting from scratch in TinkerCad. There’s another program that will allow you to create from scratch or tweak known as Blender, but I haven’t had a chance to play with it enough to know how it is. I know it’s more complicated, so we’ll leave it at that for now. One major difference to consider is that Blender is a program you would have to download whereas TinkerCad is all cloud based. Both are free. For this video, I started with a very simple file from Thingiverse that you can find here. It’s a really simple book mark. Quick to print, but even better to modify to make SWAG for the writing center I direct at Longwood University. This video details how I made those changes to fit our needs.
While TinkerCad is extremely easy to use, it can also be very frustrating getting started. Since I don’t use it very often, it means re-educating myself every time I go to do something. Once you get the hang of it though, it’s pretty user friendly. The more you use it, the easier it gets. The most frustrating thing for me is not being able to move the workspace around the way I want. Other than that, I think the program works very well and the cost of “FREE” is perfect. Please forgive any video glitches. I still have really bad internet and the equipment doesn’t always work the way it should, but we’ll continue to work with what we have. If you have any questions or suggestions, please put them in the comments. Also, if you have ideas for a new video, I’m always open to trying something new in the world of making.

Materials
TinkerCad–A really simple program to use that is cloud based. So no clogging up your computer.
MacBook Pro–I bought a new MacBook Pro January of this year for creating lives and keeping up with my social media and website. I need to do more!!
That’s it for materials. I’ve listed all the other sites in the post for software and files.
Video Equipment
- iPhone X
- iPhone 7Plus
- iPad mini 5th generation
- Arkon Stand
- Cowboystudio 4 Piece Continuous Photography /Video Studio Digital Lighting Kit with Umbrellas and Background Lights–NOT tonight.
- Ecamm Live–only problem is that it’s for Macs only, which I’m great with, but I know many people are not.
For other videos (in case you got here through a direct search) head to The Maker Nerd.