One of my favorite things to do is 3D print. To that end, I own and operate two 3D printers: a Prusa i3 MK2 and the Printrbot Plus Metal. The machines never seize to amaze me. What I have found, however, is that many people have never seen one at work, or understand how they work. To that end, I made this short video.
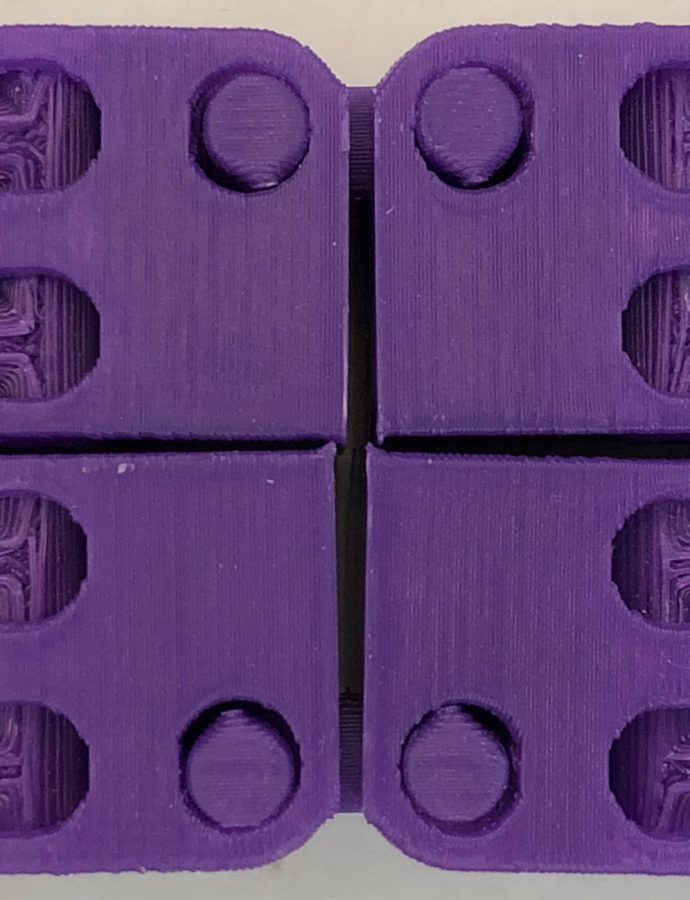
I’m an extremely hands on, visual kind of person, so I decided to do a timed video of the Kobayashi Fidget Cube printing. Actually, there are four of them printing at one time. I could just do one. In fact, I have done it that way plenty of times. When I do it this way, however, it means I have to take that one off, clean the bed, and start another for each print. I like printing four at one time to cut down on the little labor involved in printing these.
Of course there are also disadvantages of doing it this way. If something goes wrong, like a nozzle clog or one of the fidget cubes coming off the bed during printing (never a good thing), then you end up wasting plastic for four prints instead of just one. Once I have my printers dialed in though, I prefer printing more than one at a time.

The design of these cubes amazes me. They print as one piece, even though there are 16 moving joints for each one. When you think about it, this machine melts plastic as it feeds it through a nozzle, and the nozzle moves according to the code. The designer designs the model and the software he or she does this in then writes the code, something like Fusion 360, or Tinkercad.com (for simple designs). All of this needs to be perfect for a good print to come out. And believe me, I’ve tried several models where everything didn’t come together to create a finished product. When this happens, it’s hard to say what exactly goes wrong. Is it the designer, is it the machine, is it the software writing bad code? I don’t have enough knowledge of how all of this works to know where the problem lies.
Nevertheless, I upload the code for this model into my printer and without missing a beat it prints out a perfect cube all in one piece with working joints. The models are a bit stiff when you first start working them, but the more you play with them, the loser they get. These things are very addictive. I’ve given them to people who chew their nails, and as long as they have the fidget cube, they don’t chew. Seems like that is a win win.
The video of the printing seen here is time lapsed. I use a raspberry pi 3 (miniature computer for about $40) and OctoPrint software (free open source) to run my printers. The Prusa raspberry pi has a
miniature camera attached to it as well. I set this up to do timelapse photography. It’s set to take pictures every 10 seconds at 25 fps. That doesn’t make for the best video, but it gives you an idea of how these machines operate. At some point, I hope to try a bigger piece and hopefully I’ll get a time lapse for that print.
Until next time . . .