It never ceases to amaze me what you can make with a Cricut and Cricut Design Space. I’ve been wanting to make a car decal for a while, but I really didn’t know what I wanted to do. My brother made this easy by sending me an image and asking me if I could create a decal from it. Challenge accepted.
Decal Creation
The first thing I needed to do was clean up the image some. I recently purchased an ASUS Windows 10 PC for my work, and I’m not about to duplicate all the software I have on my Mac just for this. So I’ve been using a program called GIMP 2 to edit photos. At first, the frustration level soared. But the more I played with it, the more I realized it operated very much like Adobe’s Photo Shop. In fact, I might actually like it better now.
Once I had the image cleaned up and cut down to the correct size, it was time to create the file that would actually work with my Cricut machine. I see this question ALL . . . THE . . . TIME on Facebook, “How do you turn this into an SVG file?” or “Can
someone turn this into an SVG for me?” The fact is, creating SVG file from an image is not that difficult. If you want to do it old school, there is an open source software called INK that will allow you to do that. And, to save you the trouble of searching for how to do this, click here for a tutorial. But there are easier ways. If you have an iPhone, you can use an app called Imaengine. It works really well and I’ve used it a couple of times to create very detailed SVG files that I then cut out of vinyl. Most of the time, I use this website. Makes nice clean SVGs that work great. One note here, use PNG files whenever possible; they just make cleaner SVGs.
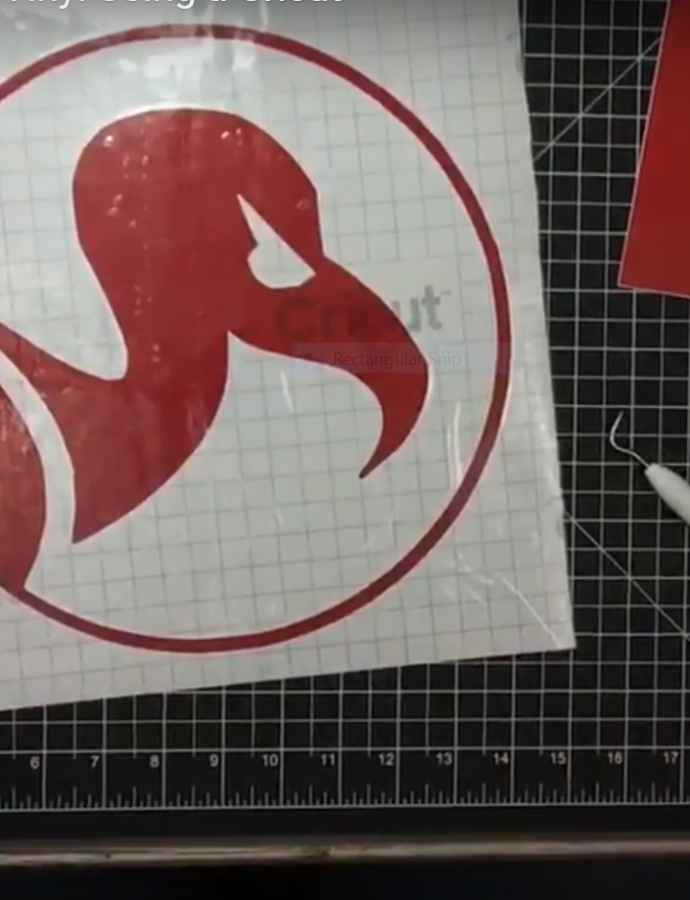
Once you have an SVG file, you are set to create your decal. Upload the SVG you’ve created into Cricut Design Space as an image. Once you have it uploaded, insert it into your design space. One thing you have to remember to do is select all and weld the pieces together, otherwise you might end up with numerous mats to cut of random shapes, not ideal! Once your decal is cut, the fun begins. You can either weed it from the mat, then use transfer tape to lift the decal from the carrier sheet, or you can lift the entire piece of vinyl from the carrier sheet and then weed it, that way the decal is already on the transfer tape. After that, you put the carrier sheet from the transfer tape back on the decal until you are ready to put it on your item.
Materials
I’ve already discussed several of the websites that can be of use to you. But here are some of the other materials.
- EZ Craft vinyl–not vouching for it, just what I had on hand.
- Cricut Tools–totally endorsing
- Cricut Explore Air II–also totally endorsing
- Cricut Cutting Mat–necessary
- Cricut Transfer Tape–I’ve used this on many projects and it usually works well. I’ve read others complain about this tape, but this claims to be new, so perhaps it’s better
Video Equipment
- iPhone X
- iPhone 7Plus
- iPad 2nd generation
- Arkon Stand
- Cowboystudio 4 Piece Continuous Photography /Video Studio Digital Lighting Kit with Umbrellas and Background Lights
- Switcher Studio
Ok everyone, that’s it for now. Until next time