I shot this video of using Chalk Couture’s Ink on Dollar Store mugs last week. But it’s the end of the semester and the weather has FINALLY started to warm up, so keeping up with blogging can be challenging. But I’m determined to keep archiving my process and reflecting on these projects. When I do them live, there’s NO reflection because I’m simply trying to get through the project with something to show for it. That’s what crafting is all about. You take a chance each and every time that you begin one, and they don’t all go according to plan. Honestly, that’s part of the fun; it rarely comes out like you thought it would.
The Chalk Couture Project
That’s kind of how this project turned out: not quite as planned. So here’s how it all went down. First, I went to the Dollar Store and picked up a couple of mugs. I should’ve thought this through a little better than I did. One had a round surface, as you’ll see, while the other had . . . well . . . corners of sorts. It isn’t a circular or ovalish cup, it has curved corners. You’ll notice when I’m trying to put the stencil on this one that those corners cause a bit of a headache.
The second problem I encountered was just how well the ink stuck to one of the mugs. I washed them in hot soapy water prior to inking, but after the skimpy coverage on the first mug, I opted to use a clorox wipe on the second one. It definitely
covered better. Part of why it looks so much better is because it’s a navy blue instead of a light teal color. But it also has to do with the actual coverage. The sparkle stencil is thin, cursive writing while the letters in can’t touch this are much fatter. All of these issues contributed to the overall success of these mugs. There’s nothing wrong with them, just different. As I’ve said time and time again, if you want something that looks perfect, don’t buy a hand crafted object . . . they all have issues whether you see them or not. Some of us are just silly enough to write blog post that talk about the blemishes in EVERY SINGLE PROJECT WE DO!! Whew, glad I got that off my chest. You can see that as well in my first Chalk Couture project here.
Overall I am happy with these mugs. I let them dry overnight since there was no hurry to finish. Then the next morning, there was just enough time before I had to be at a meeting to pop them into the oven at 35o degrees for 30 minutes. That is supposed to heat set the ink and make them safe for washing. I wouldn’t recommend putting them in a dishwasher, but you can hand wash them without any issues. Whether or not they sale at the auction is anybody’s guess, but they’re cute, so someone will likely pick them up.
Future Changes?
Next time, I’ll use a darker color for the sparkle stencil if I’m putting in on a white or light colored cup. The thinness of the lines need more contrast. Just ask my dad, he’s the one that pointed that out to me, and he’s right. If I had a black cup, the light teal would have looked great. I’ve also got to figure out how to get good coverage. I’ll be posting a video soon where I ink a t-shirt and I have some of the same issues. The ink just doesn’t seem to be pushing through the mesh of the stencil well enough to cover the object as well as it should. These are all things I need to figure out.
Materials
The great thing about Chalk Couture is that you really don’t need much other than a stencil, some paste (be it chalk paste or ink) and something to put it on.
- Mugs–two from the Dollar Store, both white, one round, one with corners (don’t recommend the corner mug if you are using stencils on it. Even vinyl would be tough to transfer to this mug
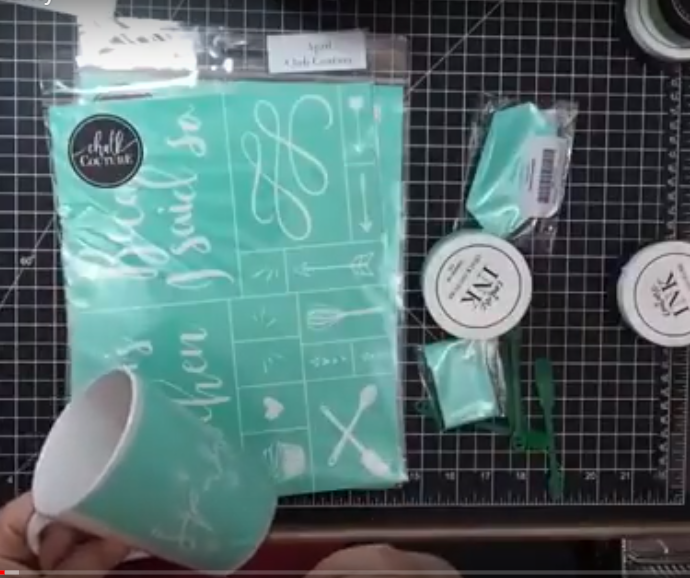
- Two Stencils from Chalk Couture–one is the “Can’t Touch This” stencil and the other is the “Sparkle”
- Two inks from Chalk Couture–Midnight Sky and Couture Teal, love both of these colors
- Towel for fuzzing the stencils since they were being place on a rather smooth surface
- Pan of water for quickly cleaning my stencils
- Tweezers for those darn dog hairs
That’s it. Not much needed at all. And the Couture Inks are in 3oz jars, so you get a lot of ink!
Video Equipment
- iPhone X
- iPhone 7Plus
- iPad 2nd generation
- Arkon Stand
- Cowboystudio 4 Piece Continuous Photography /Video Studio Digital Lighting Kit with Umbrellas and Background Lights
- Switcher Studio
Ok everyone, that’s it for now. Until next time